Tuesday, 13 August 2024

Perfect Cream Cheese Pound Cake

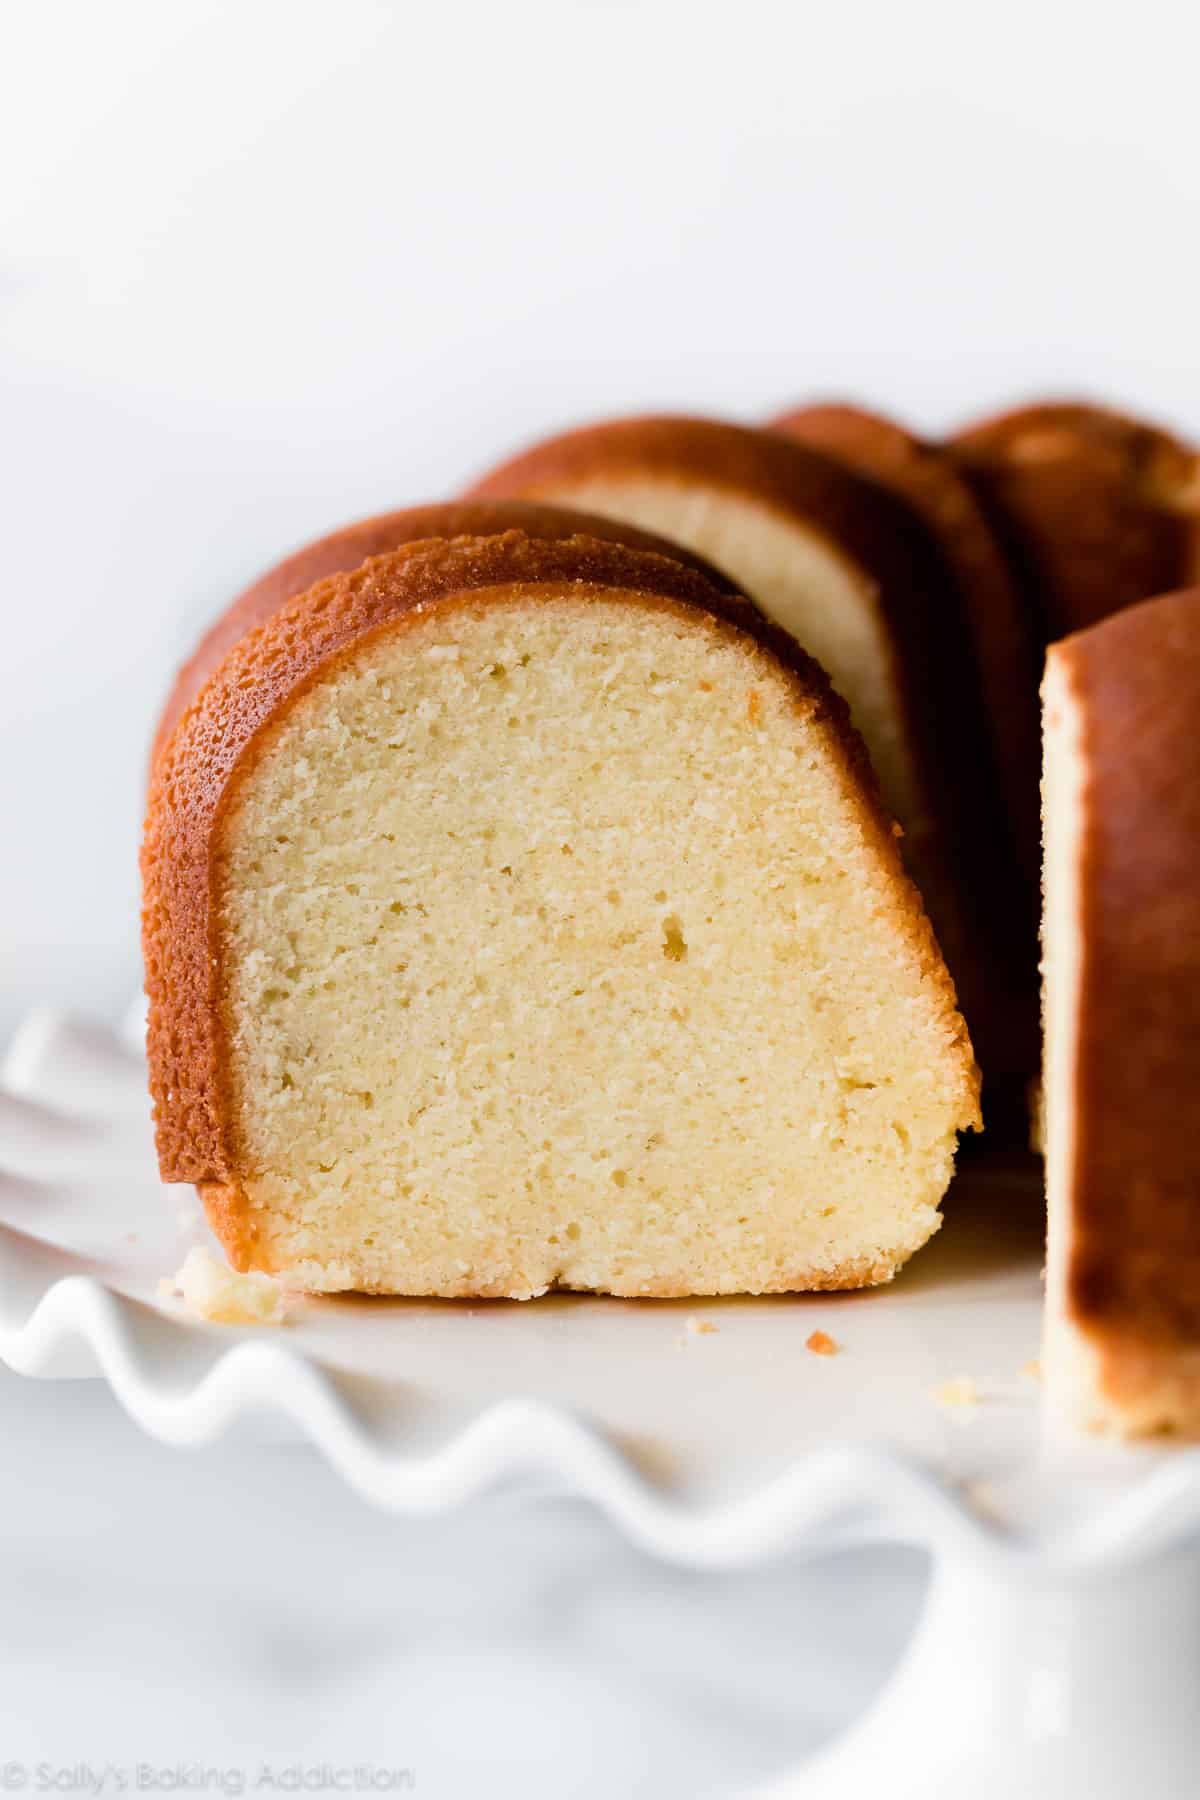
 This recipe produces a perfect cream cheese pound cake. After persistent recipe testing with many failures, I found the best ratio of ingredients to produce a moist, dense, and flavorful pound cake. Using 9 simple ingredients, this cream cheese pound cake recipe will be your new favorite. To prevent a ruined cake, follow the baking time and temperature closely. 

slice of cream cheese pound cake on a white plate with whipped cream and berries 


Until recently, I had never made really good plain pound cake. I have delicious lemon pound cake, raspberry swirl pound cake, and brown butter pound cake in my back pocket, but regular pound cake has always been a disappointment. It was so hard for me to tackle this recipe because pound cake can easily turn out dry, rock solid, and/or lacking flavor.

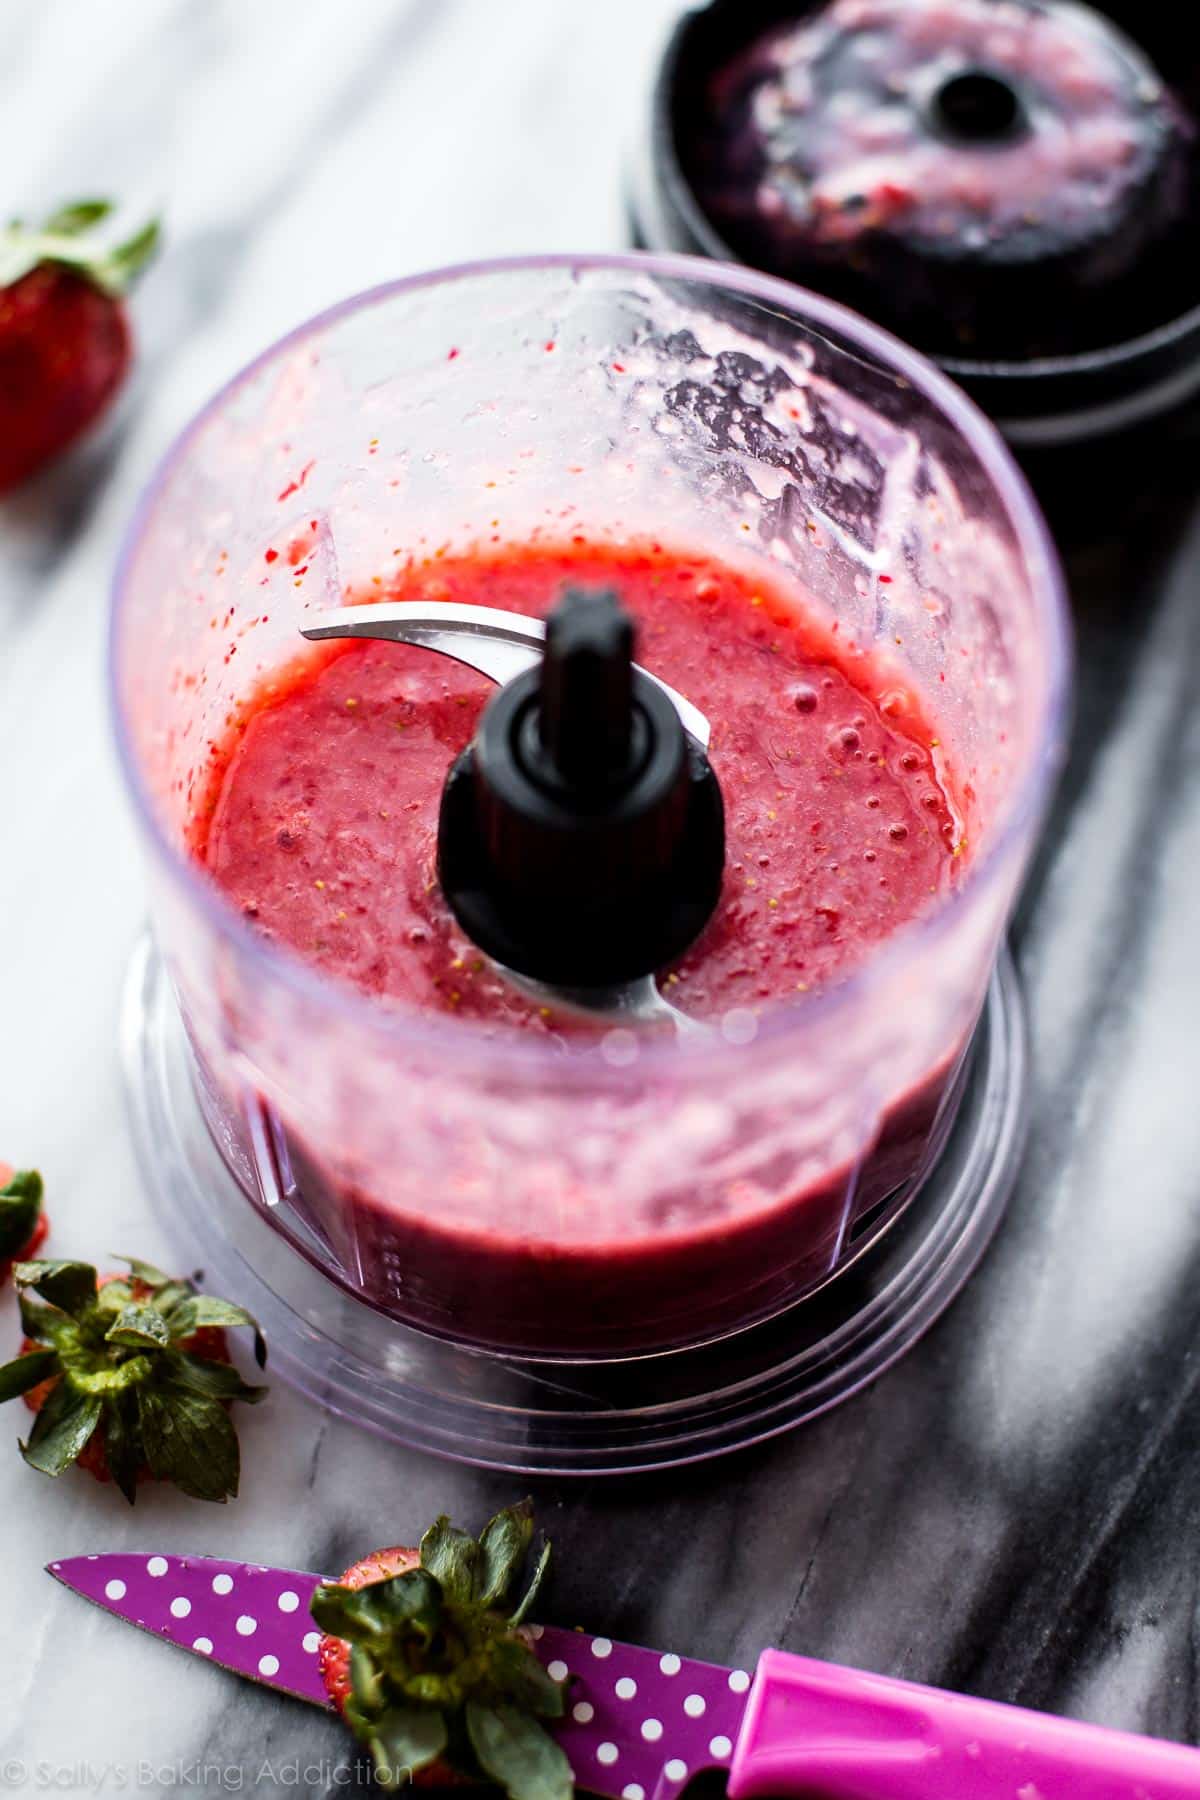
But then I began adding cream cheese and sour cream to the cake batter. And my long history of pound cake disappointments began fading away.

overhead image of cream cheese pound cake on white ruffled cake stand with berries in the center

Ingredients You Need & Why

 Here are the ingredients for cream cheese pound cake and why each is used.

    1.Butter: Butter is the base of pound cake. You need 3 sticks of room temperature butter.
    2.Cream Cheese: Cream cheese is the difference between dry pound cake and moist pound cake. End of story. If you’ve experienced dry pound cake before, cream cheese will solve all those problems. I swear by it and you will too! Full-fat brick-style cream cheese (not the spreadable kind in a tub) is imperative here, just like for classic cheesecake and cream cheese frosting.
    3.Sugar: This is a very large cake, so a lot of sugar is required to sweeten the cake and properly cream all the butter and cream cheese. 2 and 1/2 cups seems like a lot, but remember this cake is heavy and yields many servings.
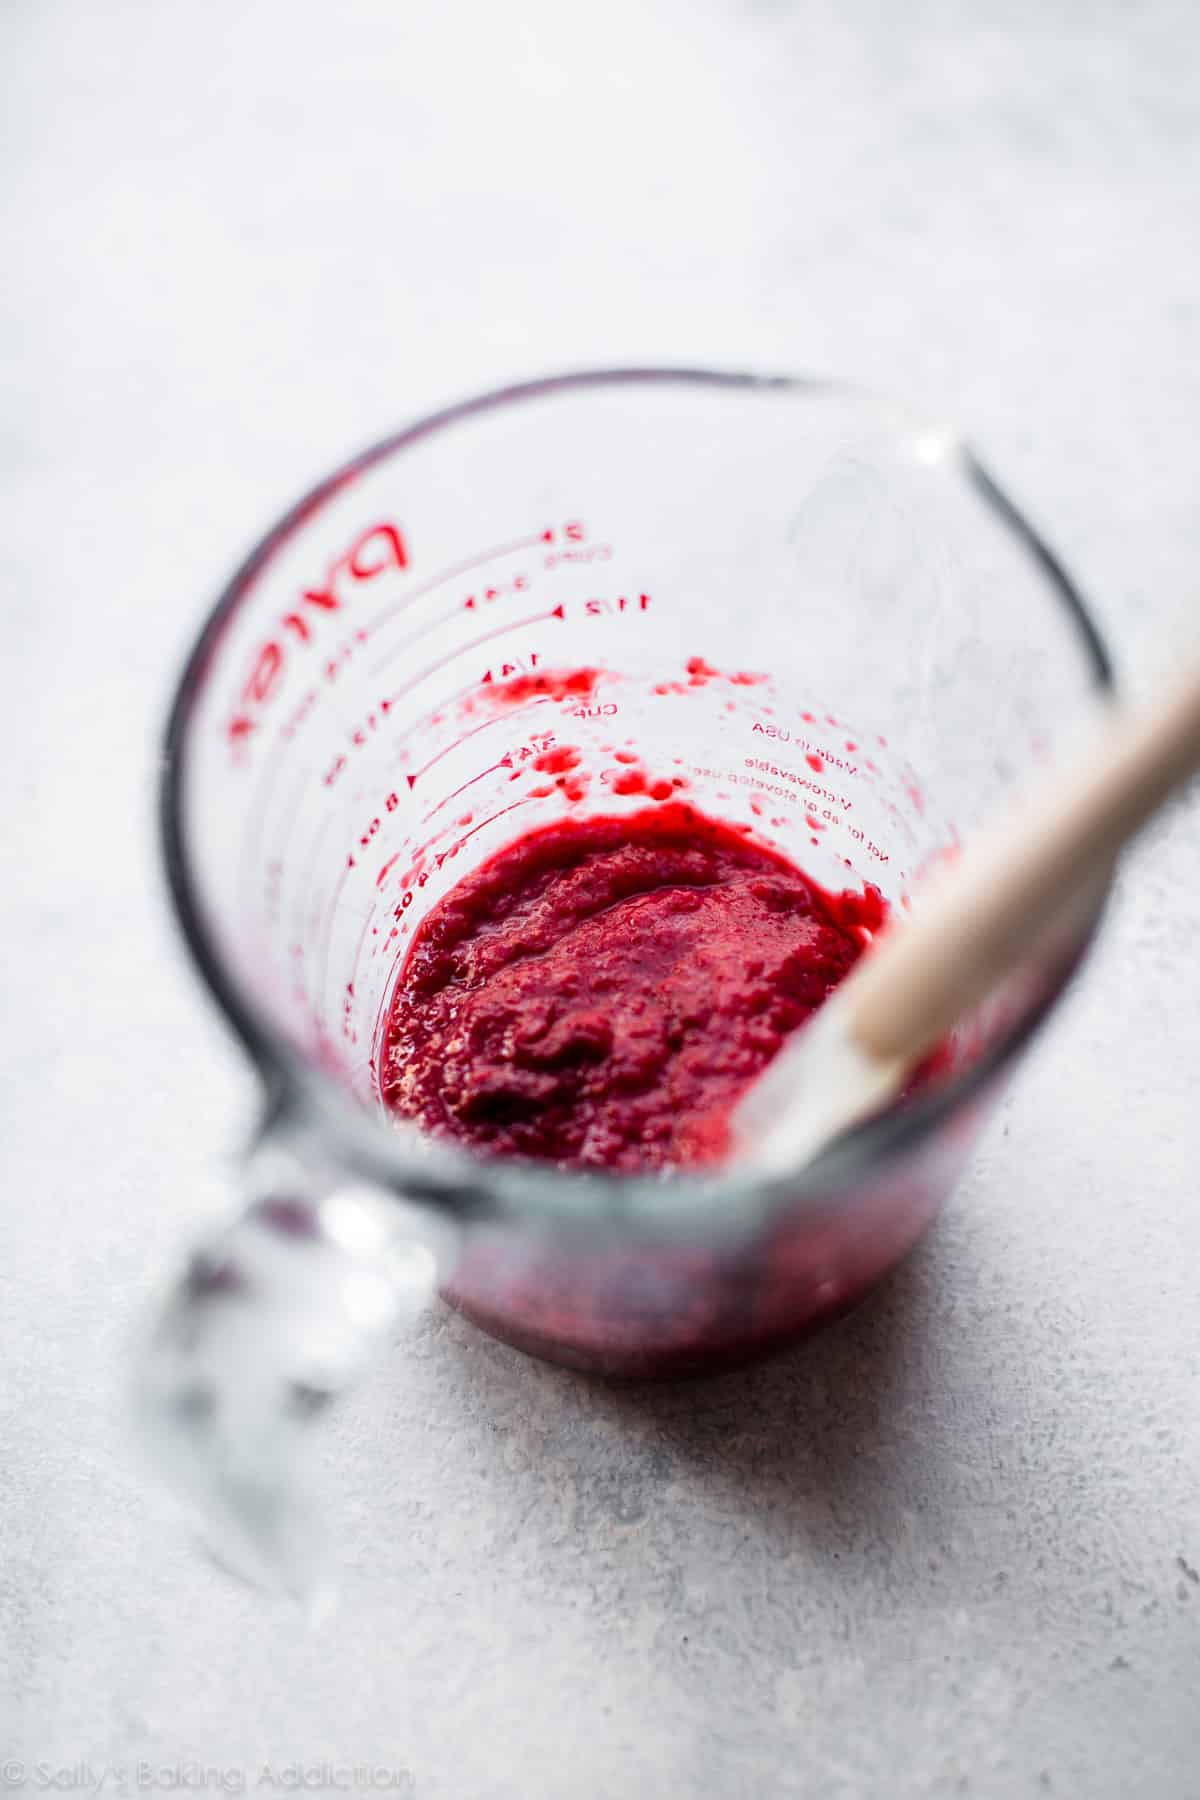
    4.Sour Cream: Sour cream is an unconventional ingredient in pound cake, but it adds so much moisture. We are avoiding dry pound cake as much as we can!
    5.Vanilla Extract & Salt: Both are used for flavor. See recipe notes for more flavors.
    6.Eggs: Eggs are the workhorse of pound cake—the main ingredient carrying all the weight. You can’t make pound cake without eggs.
    7.Cake Flour: Cake flour is lighter than all-purpose flour and produces the best pound cake in my opinion. Since it’s so light, the attention remains on the butter. All-purpose flour is simply too heavy for this pound cake recipe; the cake will be heavy as a brick. If needed, use this homemade cake flour substitute.
    8.Baking Powder: Baking powder is another unconventional ingredient in pound cake. I don’t use much for this amount of batter, but the small amount lightly lifts the crumb so the cake isn’t overly heavy and squat.

Pound Cake Disasters: Don’t Do This

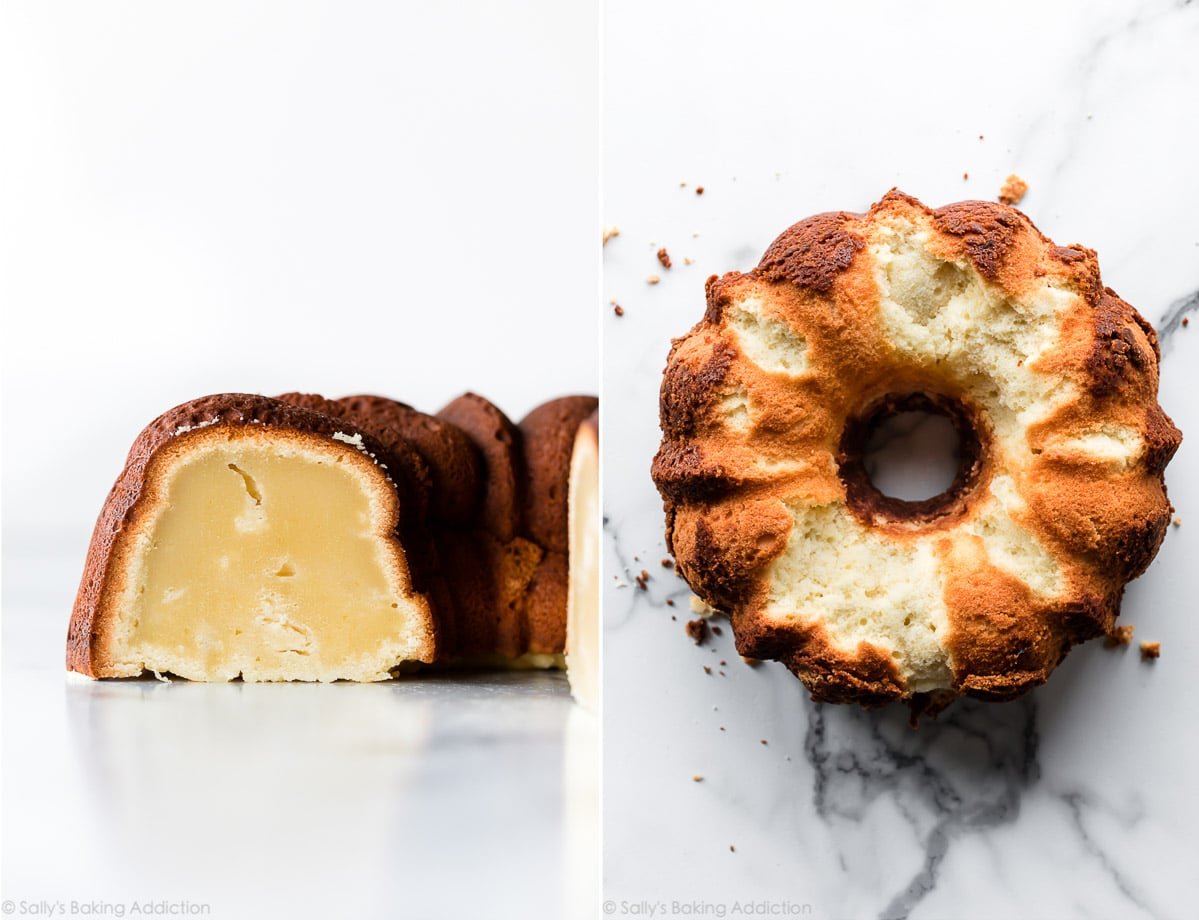
And now it’s time to discuss what can go very wrong with pound cake. I’m sharing my mistakes so you don’t waste time or ingredients. The picture below shows 2 pound cake disasters I experienced before landing on the perfect pound cake recipe and method.

  1. Mistake #1 – Left Picture: This is seriously under-cooked pound cake baked at 350°F (177°C). This temperature is TOO HOT for pound cake, which is mostly butter and eggs, to cook evenly. As you can see below, the exterior will brown before the center is cooked. I was so upset cutting into this cake. It looked perfect on the outside.
  2. Mistake #2 – Right Picture: This is seriously over-cooked pound cake. Learning from mistake #1, I cooked the pound cake at 325°F (163°C). I was so nervous to under-bake the pound cake, so I over-baked it. The cake wouldn’t release from the pan, even though it had been generously greased.2 images of pound cake disaster

Here’s How You Make The Most PERFECT Pound Cake

Now that you know what can go wrong, let’s talk about how to make the most perfect cream cheese pound cake. The *TRICK* is a lot of mixing before you add the eggs.

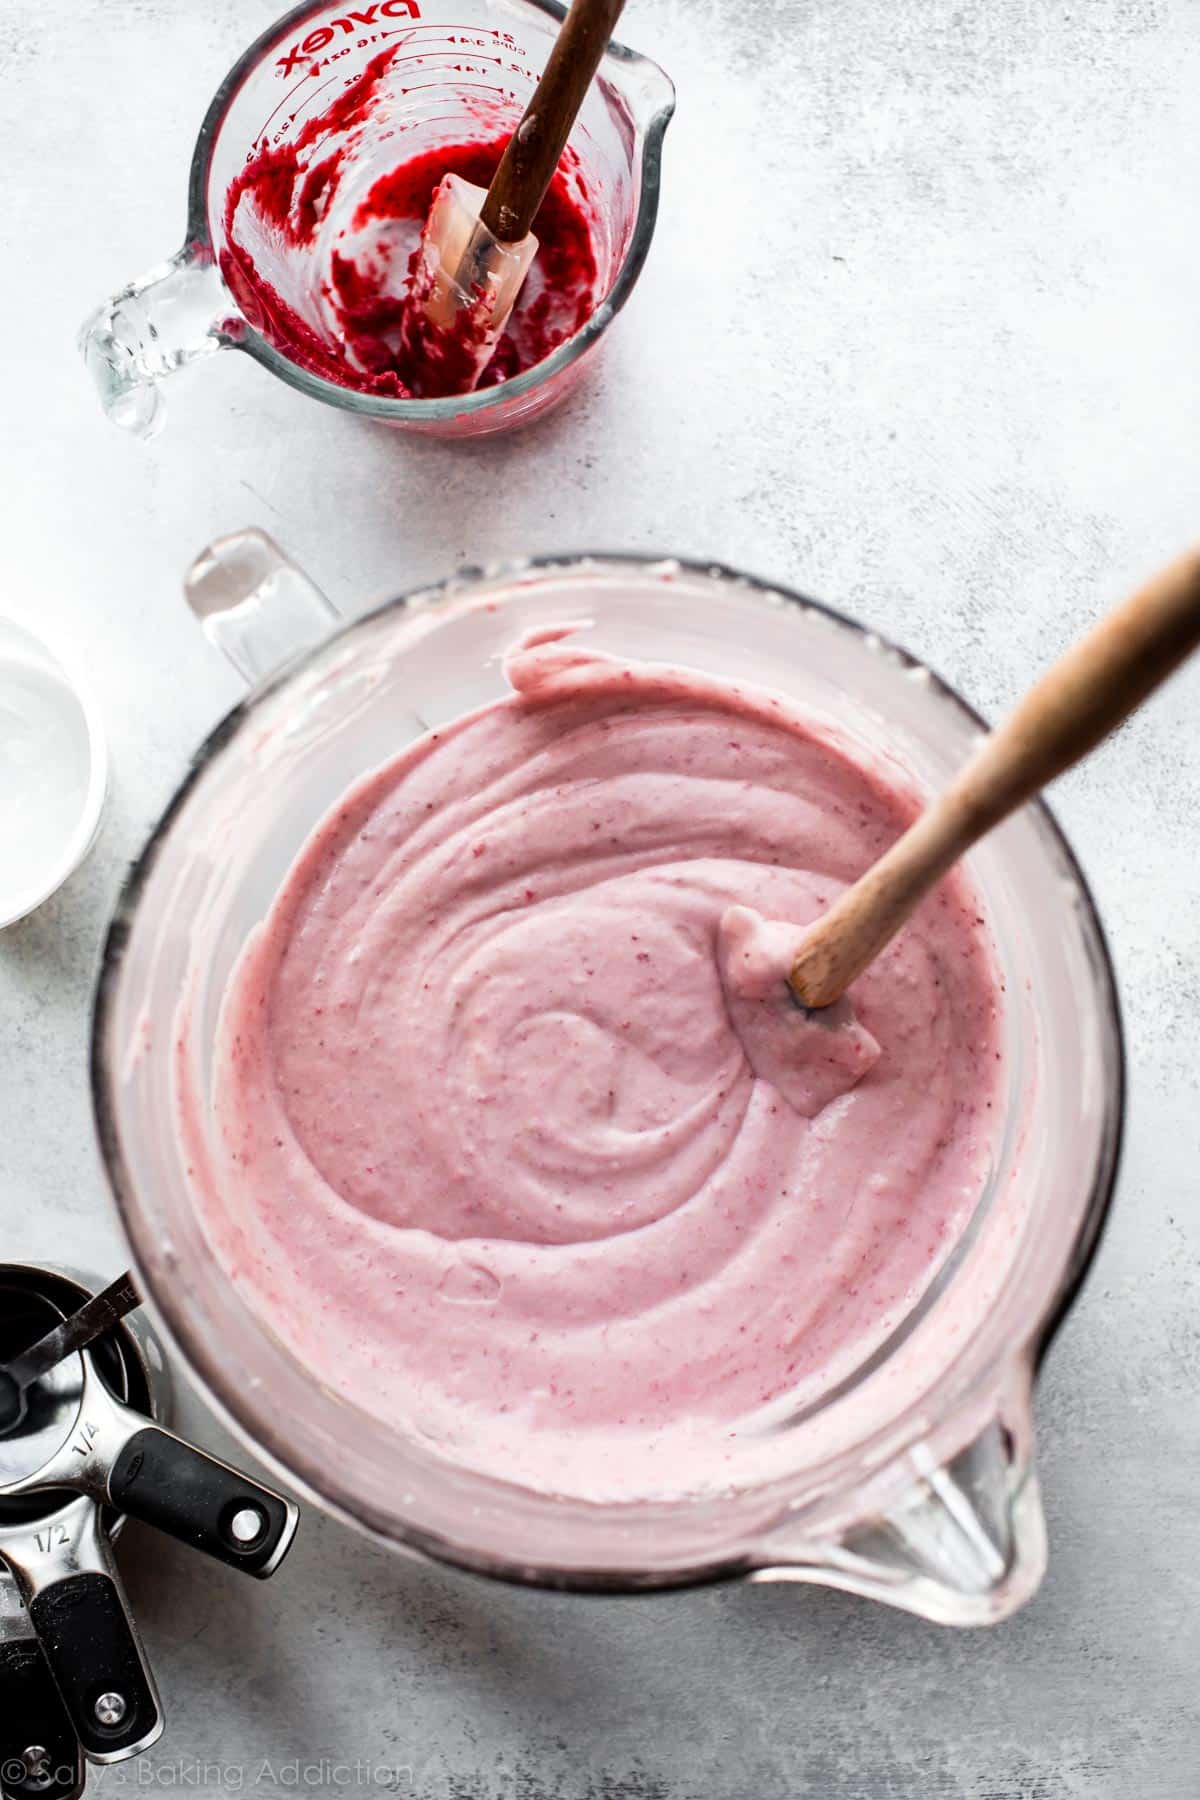
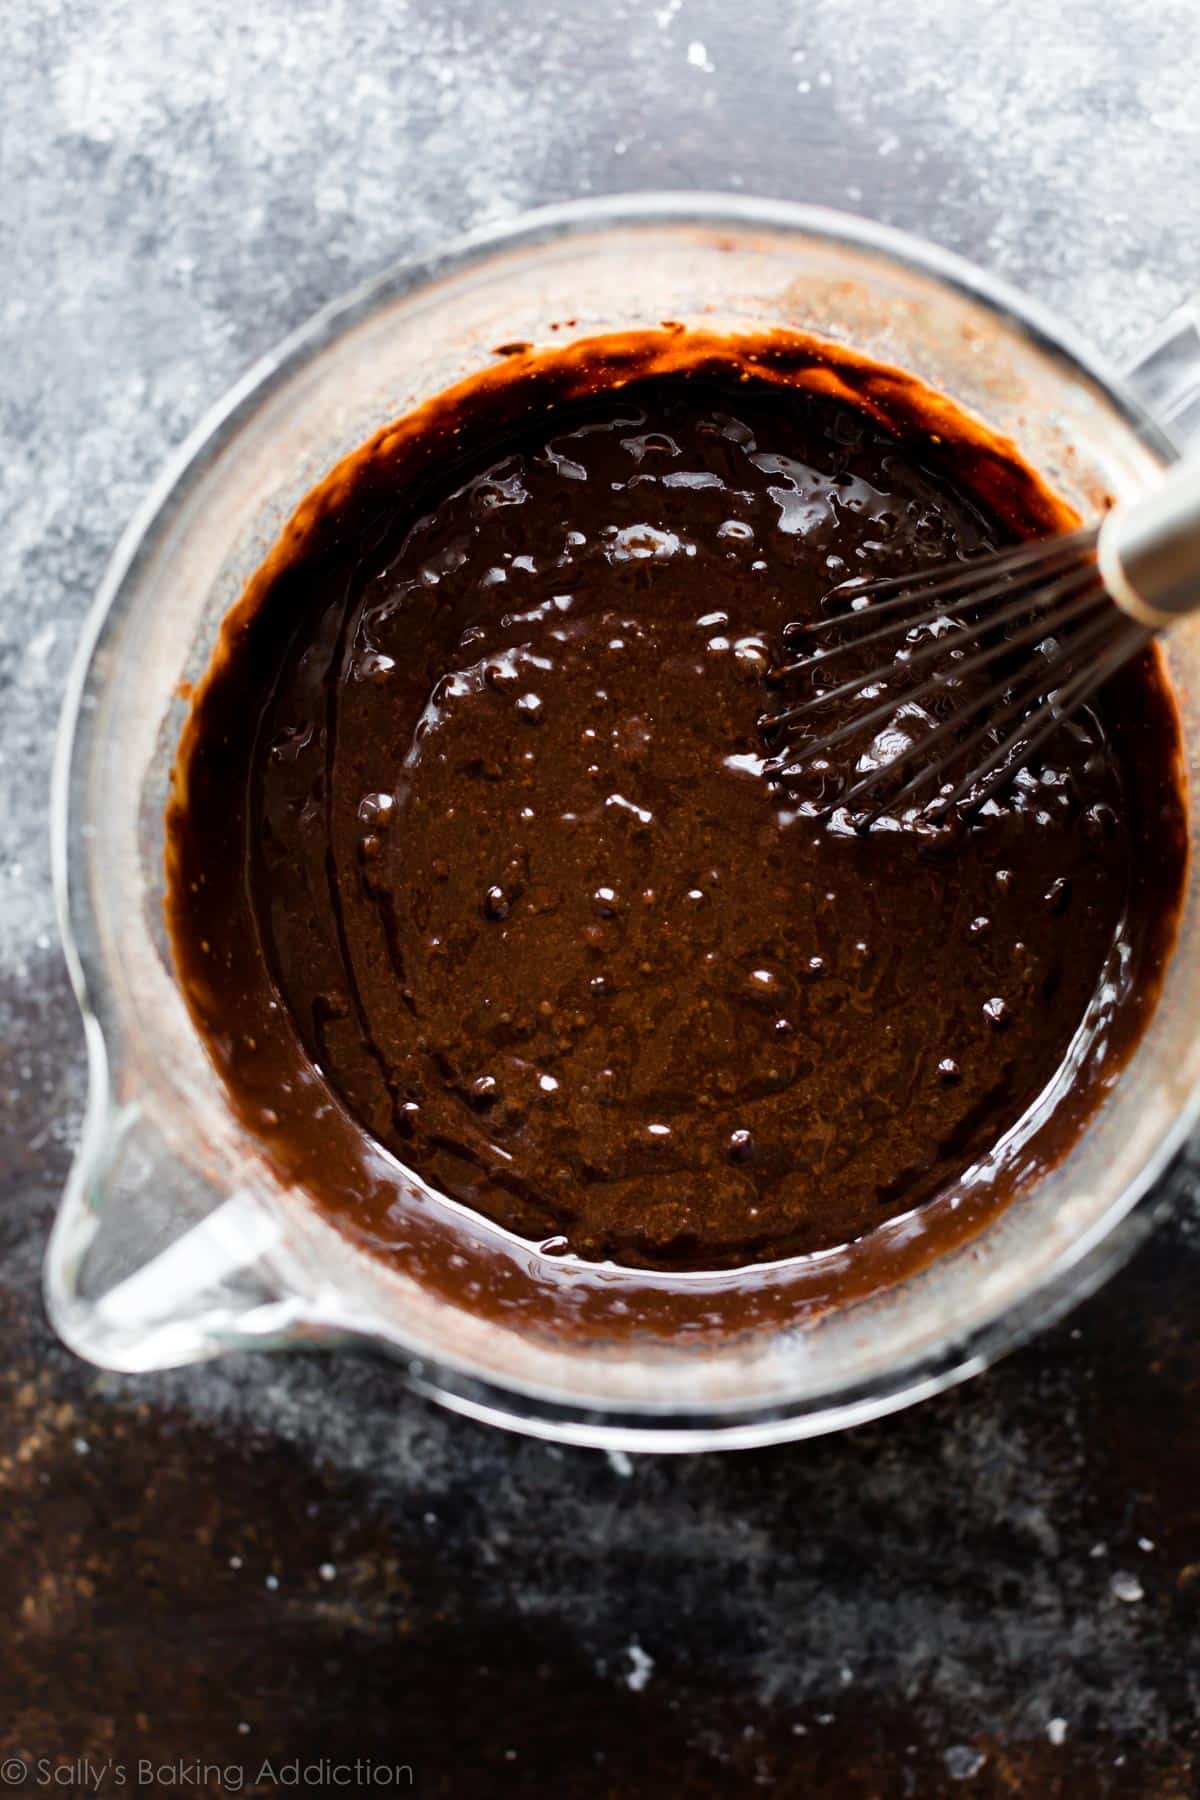
    Mix, mix, mix: Beat the butter until creamy. Add the cream cheese, then beat the two until smooth. Get all the cream cheese lumps out. Beat in the sugar, then add the sour cream and vanilla. So far there’s been a lot of mixing and that’s ok!
    1 egg at a time: Add the eggs 1 at a time, making sure each is incorporated before adding the next. When the eggs are room temperature, the mixer only needs a few turns and won’t over-mix them. Over-mixed batter = heavy-as-a-brick cake.
    Add dry ingredients: Add the dry ingredients right into the same mixing bowl.
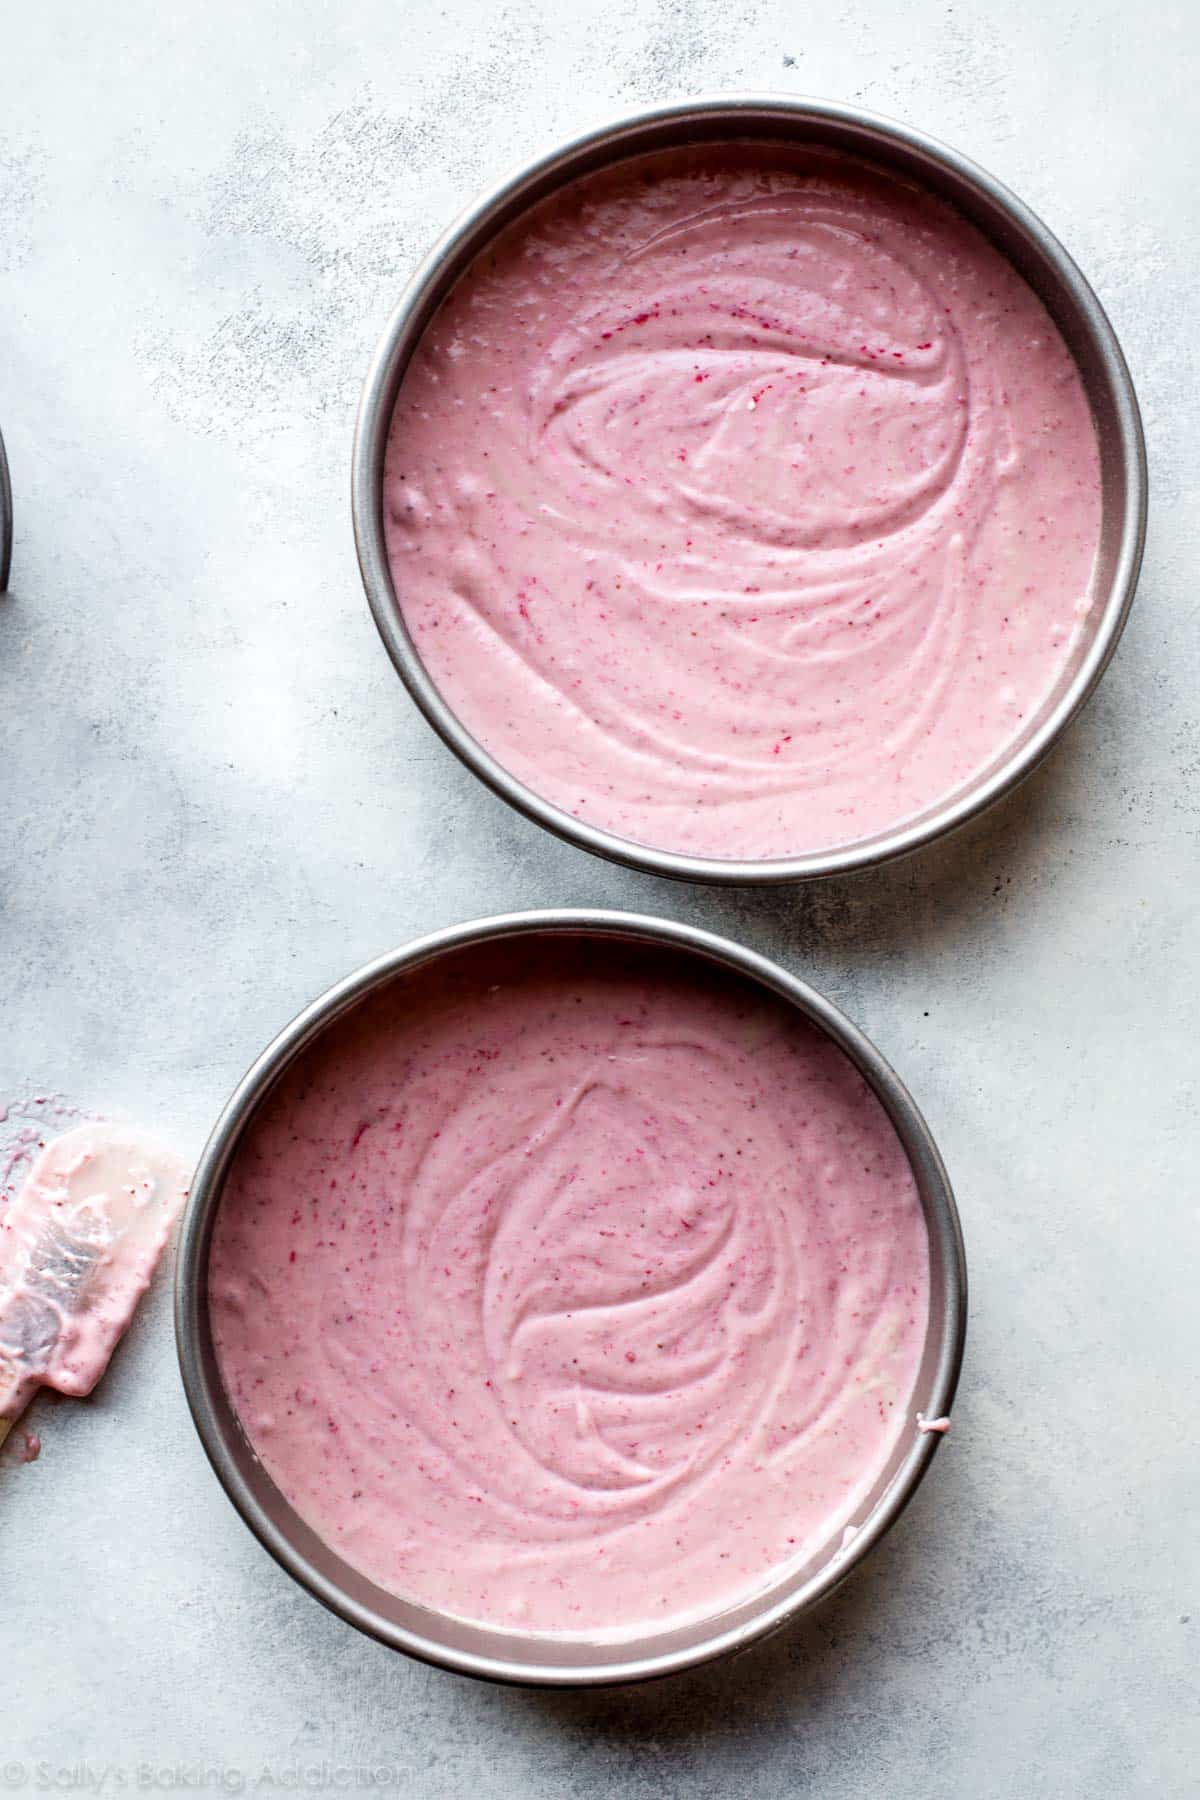
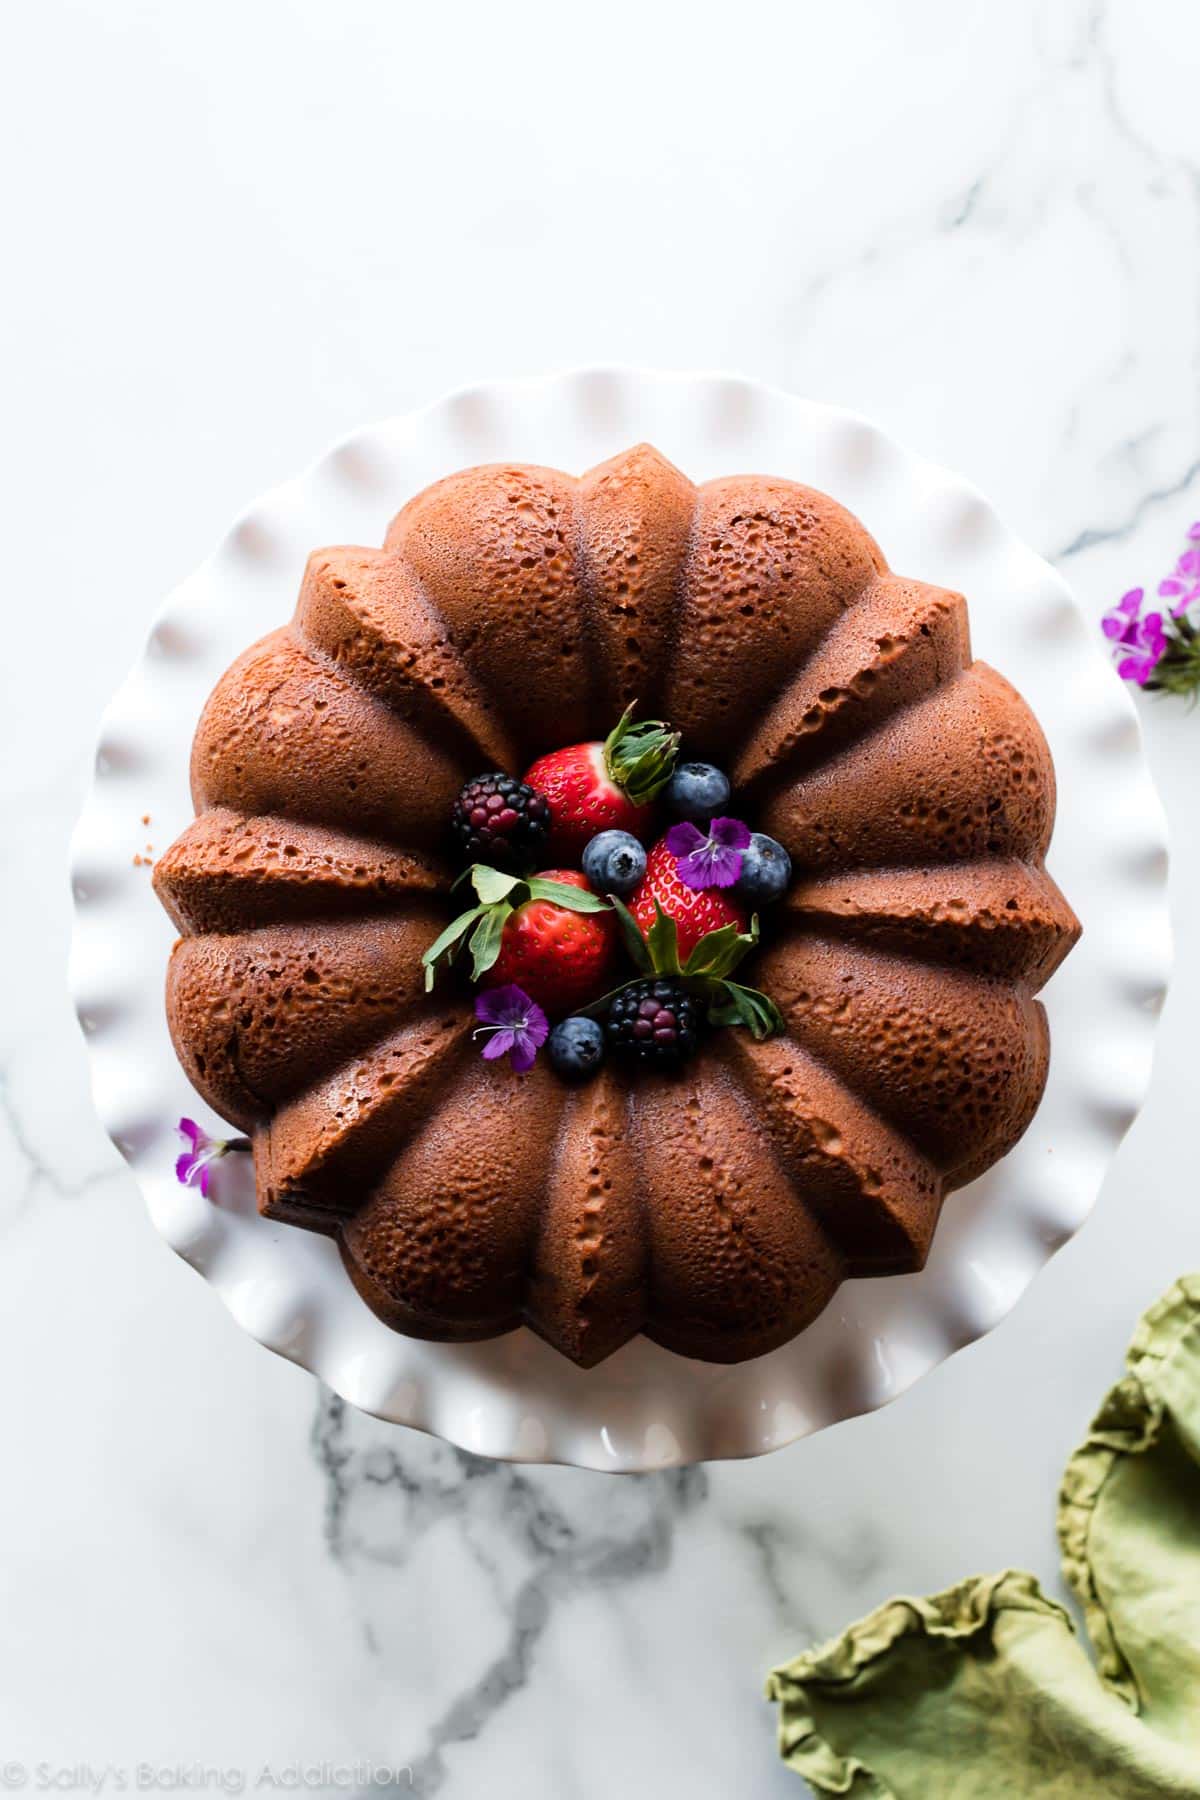
    Pour into pan: Pour the batter into a generously greased 10-12 cup Bundt pan. This is totally not sponsored, but I absolutely adore Nordic Ware Bundt pans. Make sure you use one that holds 10-12 cups of batter. This one is also gorgeous! 🙂
    Bake: Bake the cream cheese pound cake at 325°F (163°C). Halfway through baking, loosely tent the cake with aluminum foil to prevent over-browning.
    Cool, then invert: Let the pound cool for about 2 hours in the pan, then invert onto a serving plate and cool completely before serving.

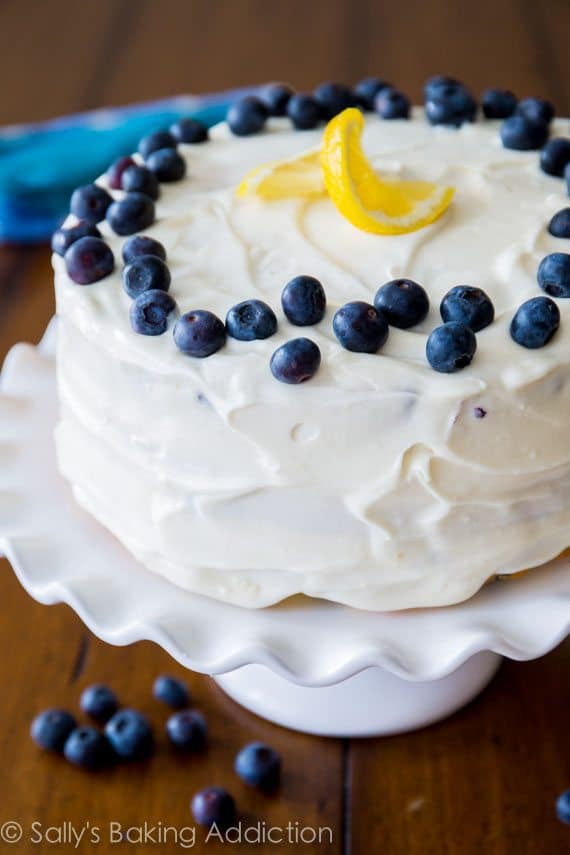
Serve with whipped cream, fresh berries, raspberry sauce, strawberry sauce, blueberry sauce, and/or homemade lemon curd. The topping from my pecan pie cheesecake would also be fantastic spooned over each slice. There’s a simplistic beauty about pound cake—it doesn’t need glaze, frosting, bells, or whistles.

Cream cheese pound cake on a white ruffled cake stand

4 Final Success Tips

Enough from me! Let me leave you with 4 tips before you get started.

  1. Follow the recipe. Use the ingredients and measurements listed.
  2. Bake low and slow. Pound cake is a large heavy cake and requires a cooler oven. Don’t be alarmed if your cake takes longer than 90 minutes.
  3. Bring all ingredients to room temperature before beginning. Room temperature ingredients promise a uniformly textured cake. Cold ingredients do not emulsify together and the pound cake won’t bake properly.
  4. Make sure each egg is mixed in before adding the next.


Lemon Raspberry Jam Cupcakes


These sunshine-inspired lemon raspberry jam cupcakes combine deliciously soft and moist lemon cake, sweet raspberry jam, and creamy-rich raspberry buttercream. Every bite is bursting with bright and fruity flavor, so they’re the perfect dessert in the spring and summertime. I recommend a thick raspberry jam or preserves—I typically use the brand Bonne Maman.

I originally published this recipe in 2014 and have since included a jam filling, plus new photos and a few more success tips.

lemon raspberry cupcakes on marble cake stand. 


While they may look innocent, these pretty cupcakes pack a strong flavor punch. They’ve been my go-to summer cupcake recipe for over a decade because they’re always well received, but it wasn’t until recently that I decided to improve upon their pink perfection.

 The buttercream on top used to double as the cupcakes’ filling, but swapping it for raspberry jam/preserves lends a burst of intense fruitiness. It was a convenient swap because you also use raspberry jam in the frosting itself. The lemon and raspberry flavors were both stronger after this switch, and it left me with more buttercream to use on top. Taste testers swooned over this batch, so I decided to make it a permanent change. Truly better than ever!

 overhead photo of lemon raspberry jam cupcakes with a few cut in half to show the jam center. 

Lemon Raspberry Cupcakes Details:

  • Flavor: Tangy-fresh lemon citrus flavor balanced with sweet berry jam and buttercream.
  • Texture: The cupcakes have a soft, springy, and moist crumb. It’s the same Lemon cupcake recipe I’ve trusted for years, and you’ll see it again with these lemon blubbery cupcakes
  • Ease: The cupcake batter itself is probably the most straightforward cupcake batter I’ve ever worked with. You need a mixer to make it. You’ll fill the lemon cupcakes with jam, then mix together the raspberry buttercream. Filling cupcakes is quite simpleyou just need a paring knife and teaspoon.

Grab These Ingredients for the Cupcakes:


ingredients on wooden backdrop including flour, butter, eggs, milk, sugar, and vanilla.


  • Flour: All-purpose flour is the base.
  • Baking Powder: Baking powder helps the cupcakes rise. You do not need baking soda in this recipe.
  • Salt: A little salt adds flavor and balances all the sweet.
  • Butter: I favor neutral oil in my cakes and cupcakes because it makes cakes exceptionally moist. However, when I’m looking for a buttery taste and cakey texture, I use creamed butter.
  • Sugar: Cream this with the butter to produce a soft, cakey base for the batter.
  • Eggs: 2 eggs add structure and richness.
  • Vanilla Extract: Pure vanilla extract adds flavor. You can use homemade vanilla extract if you have a batch going!
  • Milk: Milk adds moisture. Milk with fat such as whole milk, buttermilk or 2% milk is your best choice here. (Nondairy milk is great in a pinch.)
  • Lemons: Grab 2 lemons for the cupcake batter. You need the zest and juice, plus a little juice for the raspberry buttercream.

The ingredient list is pretty similar to my lemon cake Hold onto this dessert recipe; you can pair these lemon cupcakes with a variety of frostings and fillings. And they’re very easy to make.

 The recipe conveniently makes exactly 1 dozen. After you bake and cool them, it’s time to fill with jam. Let me give you some advice on filling cupcakes.

Filling the Lemon Raspberry Cupcakes

It’s best to use a thick jam (or thick preserves). You can use seedless if you prefer, but with all of the other soft and creamy textures, you won’t notice a couple seeds in the filling. I always use and strongly recommend bone maman rasberry preserves (Not sponsored, just a big fan!)

We’re using the same method I use to fill these Filling the Lemon Raspberry Cupcakes
It’s best to use a thick jam (or thick preserves). You can use seedless if you prefer, but with all of the other soft and creamy textures, you won’t notice a couple seeds in the filling. I always use and strongly recommend Bonne Maman Raspberry Preserves. (Not sponsored, just a big fan!)

We’re using the same method I use to fill these cream-filled chocolate cupcakes and these strawberry shortcake cupcakes.

With a sharp knife, cut a circle in the cupcake and remove the center, which will be roughly the shape of a cone. Using a small spoon, fill the middle of the cupcake with all the jam/preserves that can fit. (Usually between 1–2 teaspoons.) Slice/tear off the pointed tip of the cone-shaped piece of cupcake, and gently press the round piece back on top of the filling.

With a sharp knife, cut a circle in the cupcake and remove the center, which will be roughly the shape of a cone. Using a small spoon, fill the middle of the cupcake with all the jam/preserves that can fit. (Usually between 1–2 teaspoons.) Slice/tear off the pointed tip of the cone-shaped piece of cupcake, and gently press the round piece back on top of the filling.

collage of photos showing filling cupcakes with preserves. 

Creamy Raspberry Jam Buttercream

The raspberry buttercream is pretty close to my Creamy Raspberry Jam Buttercream
The raspberry buttercream is pretty close to my vanilla buttercream. It’s slightly scaled down to make room for the raspberry preserves, and has the perfect amount of sweet raspberry flavor. I find a dash of salt and a splash of lemon juice both help balance the sweet.

If you need more excuses to make it, you’ll love it on these vanilla cupcakes or these blueberries and cream cupcakes. It’s slightly scaled down to make room for the raspberry preserves, and has the perfect amount of sweet raspberry flavor. I find a dash of salt and a splash of lemon juice both help balance the sweet.

If you need more excuses to make it, you’ll love it on these Creamy Raspberry Jam Buttercream
The raspberry buttercream is pretty close to my vanilla buttercream. It’s slightly scaled down to make room for the raspberry preserves, and has the perfect amount of sweet raspberry flavor. I find a dash of salt and a splash of lemon juice both help balance the sweet.

If you need more excuses to make it, you’ll love it on these vanilla cupcakes or these blueberries and cream cupcakes


Lemon Blueberry Layer Cake

 Sunshine-sweet lemon blueberry layer cake dotted with juicy berries and topped with lush cream cheese frosting. One of the most popular cake recipes on this website!

Lemon blueberry cake on a white cake stand

How to Make Lemon Blueberry Cake

  • Fresh lemons: Use fresh lemon juice and lemon zest in the cake batter. None of that lemon extract stuff! How to choose lemons at the store? Make sure the lemons you choose are smooth-skinned and heavy for their size. That way you know they are extra juicy.
  • Buttermilk: Known for providing exceptional moisture to baked goods, buttermilk leaves each bite tender and lush. If you don’t have buttermilk, you can use whole milk instead.
  • Brown sugar & 4 eggs: I’ve found that lemon cakes can easily be dry and gritty, so add some moist-making ingredients like brown sugar, eggs, and buttermilk. Buttermilk, a little brown sugar, and 4 eggs assure the final product is as moist as it could possibly be without being wet.
  • Fresh or frozen blueberries: Fresh or frozen blueberries are OK. If using frozen, do not thaw.
    slice of lemon blueberry cake on a plate

    Cream Cheese Frosting

    This cake is moist and soft, somewhere between a vanilla layer cake and pound cake. Silky cream cheese frosting is the perfect finishing touch—it literally tastes like spreadable cheesecake. The cream cheese frosting goes onto the cake so easily, so it’s a really simple cake to decorate. Doesn’t need to be neat—its haphazardness adds to its charm, don’t you think?

    Description

    Sunshine-sweet lemon layer cake dotted with juicy blueberries and topped with lush cream cheese frosting. You can use either fresh or frozen blueberries in this cake. If using frozen, no need to thaw.


Sunday, 11 August 2024

Homemade Strawberry Cake

 The one thing that sets this strawberry cake apart from others? Reduce fresh strawberry puree down and add to the best white cake batter.

overhead image of homemade strawberry cake on a marble cake stand


This strawberry cake completely blew me away. After years of mediocre from-scratch strawberry cakes, my expectations were pretty low. It was time to taste test my efforts. Biting into the first pastel-pink forkful was the moment of truth…


slice of homemade strawberry cake on a white plate                                


 find it challenging to pack real strawberry flavor into cake without the crutch of fake strawberry flavoring. My goal was to create a strawberry layer cake made entirely from real strawberries. We’re talking strawberries inside the cake and in the frosting as well. With the help of freeze-dried strawberries, I tackled strawberry frosting. I’ll get to that below. But for strawberry cake? Things have always been pretty lackluster in the flavor and texture department.

Strawberry Cake Problems

  • Chopping up strawberries and folding into cake batter works, but then you’re just eating vanilla cake with chunks of strawberries.
  • Pureeing strawberries and folding into cake batter has potential, but the texture is always off. There’s too much liquid. How about adding more flour to make up for that liquid? Then your cake is too dense. And the flavor is always lacking.
  • Strawberry jam could work, but I prefer to start with real strawberries.

So how can we pack real strawberry flavor into cake batter without adding too much liquid? REDUCE THE STRAWBERRIES DOWN. Ding ding ding! We have a winner.

 carton of strawberries


How to Pack REAL Strawberry Flavor Into Cake

  1. Puree fresh strawberries.
  2. Reduce down on the stove.
  3. Let cool.
  4. Stir into cake batter.

 Puree 1 pound of ruby red strawberries. You’ll need a food processor or blender for this step, and again when you make the frosting.

 Strawberry puree in a food processor

Take that strawberry puree—don’t add anything else to it—and reduce it down on the stove. This, my friends, is where all the magic happens. Like I mention above, you want a lot of concentrated flavor within a little amount of liquid. We also do this with champagne in my mimosa cupcakes and champagne frosting. And with Guinness in Guinness chocolate cake, too.

You’ll begin with 1 cup of hot pink puree and reduce down to 1/2 cup. After 30 minutes, it will be very thick and very red. Add this thick and highly concentrated strawberry flavor to your cake batter, instead of the thinner strawberry puree.

strawberry puree in a glass measuring cup   The reduced strawberry puree will go into the cake batter. No need to strain the seeds first—they disappear when the cake is baked. 

Because the reduced strawberry puree needs to completely cool down, I suggest getting started the day before. Just let the reduced strawberry puree sit in the refrigerator overnight and make the cake batter the following day.

strawberry cake batter in a glass bowl 


Strawberry Cake Batter

The cake batter starts from my white cake. This vanilla-flavored cake proved to be the best jumping-off point for a strawberry cake. I kept the majority of the recipe the same, but I removed some of the wet ingredients to make room for 1/2 cup of reduced strawberries. The cake is light, springy, soft, and fluffy.

The reduced strawberry puree will tint the cake batter a lovely pastel pink and, if you want, you can add a small drop of pink or red food coloring to brighten that hue. Not necessary, of course. (I added a single drop of pink gel food coloring.) Expect a velvety and slightly thick cake batter.

  • No artificial strawberry flavor.
  • Nothing from a box.
  • Just pure strawberries.
strawberry cake batter in round cake pans

The Strawberry Frosting

You can taste the fresh strawberry flavor in the baked cake, but the flavor is REALLY brought out when you combine it with strawberry frosting. Like strawberry cake, strawberry frosting has always left me feeling a little defeated. Fresh strawberries were the issue. The frosting would always curdle from the added moisture. And no amount of fresh strawberries could get me the strawberry flavor I craved. Instead of settling for artificial strawberry flavoring, I took a trick from Sally’s Candy Addiction: strawberry dust! Grab some freeze-dried strawberries, grind them up, and mix that magic dust into the frosting.

(I actually added freeze-dried strawberries to cake batter as one of my test recipes. This was an awful decision and an epic fail. The cake was atrocious. Texture, taste, and appearance. Just… no. But freeze-dried strawberries are a YES for frosting!)

  • Where to buy freeze-dried strawberries? I find freeze-dried strawberries in my regular grocery store in the dried fruit aisle. I’ve also seen them in health food stores. Trader Joe’s, Whole Foods, Amazon, and Target all carry them, as well. Or, you can order them online.
  • Baker’s Tip: Do not use “dried strawberries” which are like raisins, dried apricots, and dried pineapple. They have a gummy texture and don’t grind into a powder. You need freeze-dried strawberries, which have all of the moisture removed. They’re the same strawberries you use in strawberry and cream cookies.

Instead of a thicker strawberry buttercream, I used my silky cream cheese frosting recipe. Added in the freeze-dried strawberry “dust” and milk and was left with a frosting so pink, Barbie would be jealous!

 Homemade strawberry cake on a wood and marble cake stand

Triple Chocolate Cake

 slice of chocolate cake on a plate

 With a super moist crumb and fudgy, yet light texture, this chocolate cake recipe will soon be your favorite too. Top with chocolate buttercream and chocolate chips for 3x the chocolate flavor. You can also prepare this chocolate layer cake as a sheet cake, too. See recipe note.

 Originally published in 2013 and now with more in-depth descriptions, a helpful video tutorial, clearer instructions, and different ways to use this classic chocolate cake recipe. I hope you enjoy all the new features in this recipe post!


Devil’s Food Chocolate Cake… But Better

This pictured cake is a combination of chocolate buttercream and mock-devil’s food cake. You know the Devil’s Food chocolate cake you get at a restaurant or even from a box mix? This is that exact cake, only completely homemade. Notice the reddish tint? That’s where the name Devil’s Food comes from. The baking soda in this recipe reacts with the natural cocoa powder, which results in the reddish color. More on the science behind using dutch-process vs. natural cocoa powder here, if you’re interested.


This Chocolate Cake Is:

  • Extra moist
  • 2 layers, but can be made as 3 layers or as a sheet cake
  • Soft with a velvety crumb
  • Deeply flavorful
  • Unapologetically rich, just like my flourless chocolate cake
  • Covered with creamy chocolate buttercream
    chocolate cake on white cake stand


Key Chocolate Cake Ingredients & Why

Each ingredient serves an important role. For best results, do not make substitutions.

  1. All-Purpose Flour: The structure of the cake. Unlike confetti cake where you can use either, do not use cake flour here—when combined with ultra-light cocoa powder, cake flour is too fine for this cake.
  2. Unsweetened Natural Cocoa Powder: Do not use dutch-process cocoa powder. If you’re interested, see dutch-process vs natural cocoa powder for an in-depth explanation.
  3. Baking Soda & Baking Powder: Remember the differences in baking soda vs baking powder? We use both here for lift.
  4. Salt: Salt balances the flavor.
  5. Espresso Powder: Espresso powder is optional, but I recommend its addition because it enhances the chocolate flavor. The chocolate cake will not taste like coffee, I promise. I use espresso powder in my chocolate zucchini cake, Guinness cake, chocolate raspberry cake, and marble loaf cake too!
  6. Oil: Don’t use butter in this cake batter. Cocoa powder is a particularly drying ingredient, so this cake needs oil for suitable moisture. Same goes for my chocolate cake roll recipe, too.
  7. Eggs: Use 2 room temperature eggs. To speed up the gently warming, place refrigerated eggs in a cup of warm water for 10 minutes. Did you know what the temperature of your ingredients has a direct correlation to the success of your recipes? Unless otherwise noted, use room temperature ingredients.
  8. Buttermilk: This chocolate cake requires the moisture and acidity from buttermilk. Lately I’ve been using a mix of sour cream and buttermilk, as well as reducing the hot liquid. You can read more about this next and see my dark chocolate mousse cake, tuxedo cake, black forest cake, German chocolate cake, and chocolate peanut butter cake recipes.
  9. Vanilla Extract: Vanilla extract adds flavor.
  10. Hot Coffee or Hot Water: Hot liquid enhances the cocoa powder’s flavor. It also encourages it to bloom and dissolve appropriately. You’ll notice I don’t use hot liquid in my chocolate cupcakes recipe. That’s because there isn’t the same volume of dry ingredients. With this amount of cake batter, we need a hot liquid to break up the cocoa powder lumps resting in all that flour. If you don’t drink coffee, you can use hot water. For deeper and darker flavor, though, use coffee. (Decaf coffee work)


dark cake batter in glass bowl with whisk.